Category Archives: Scrapbook

Week In The Life: Thursday and Friday

IMG_6974.jpg

Hello lovelies,

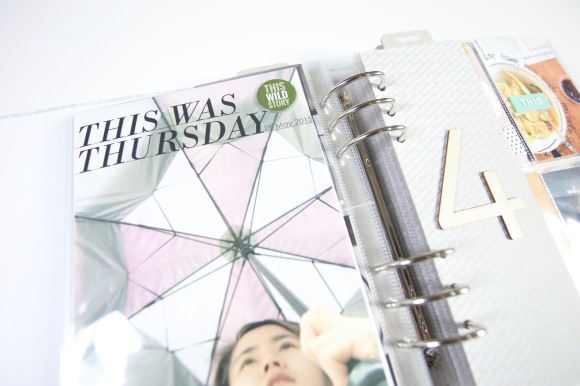
Welcome back! Today I’m here to show you two more days of my WITL project. I really like following a pattern to completing this project. It gets quicker and quicker every day. And for a project like this, I think it’s really important to make sure that I keep it manageable.

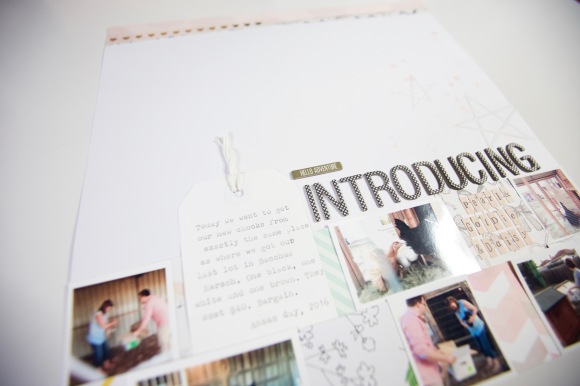
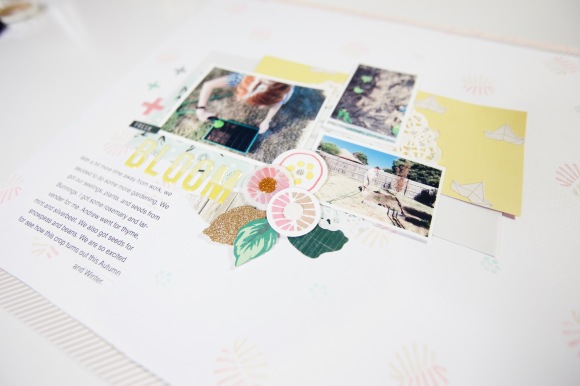
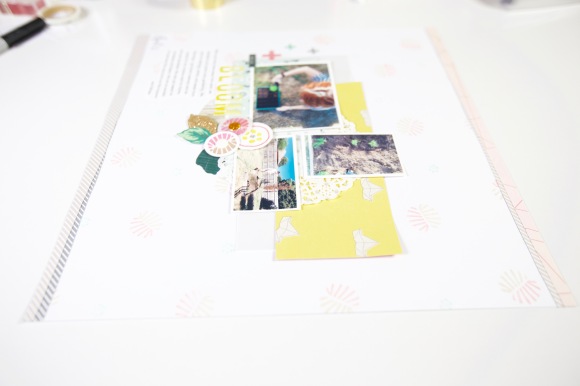
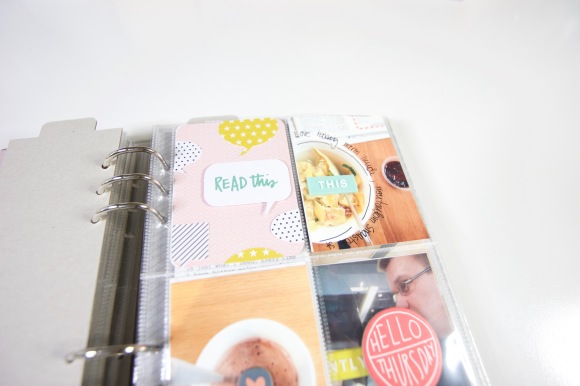
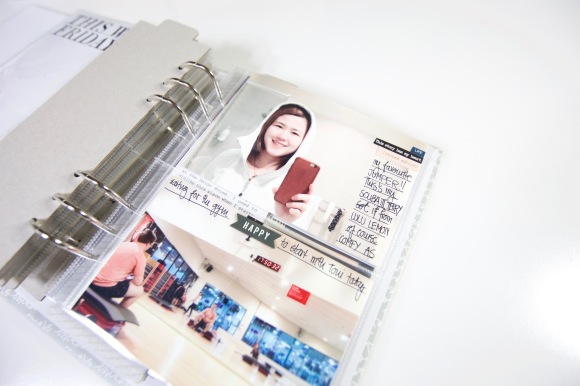
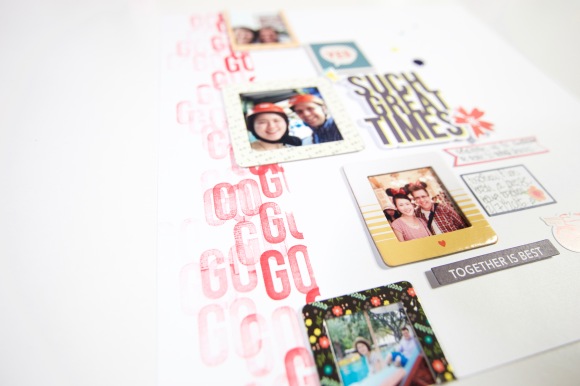
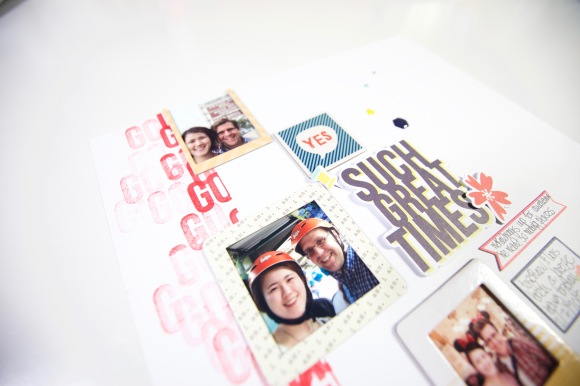
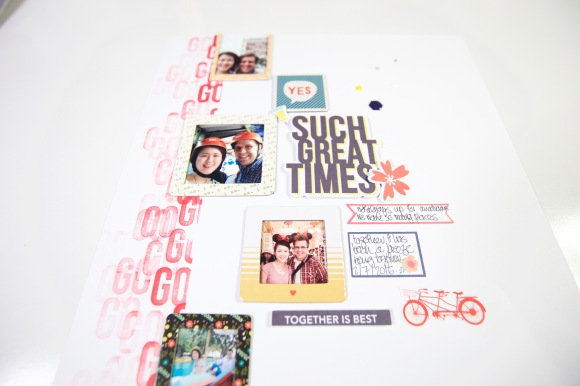
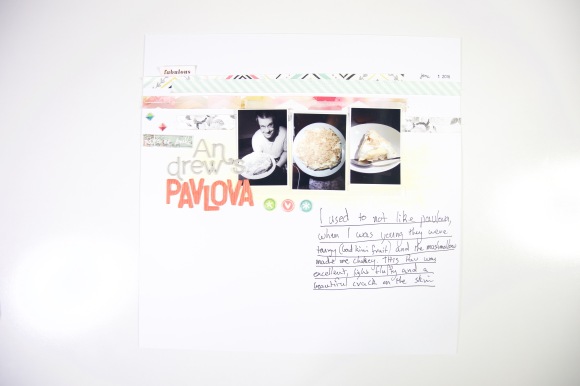
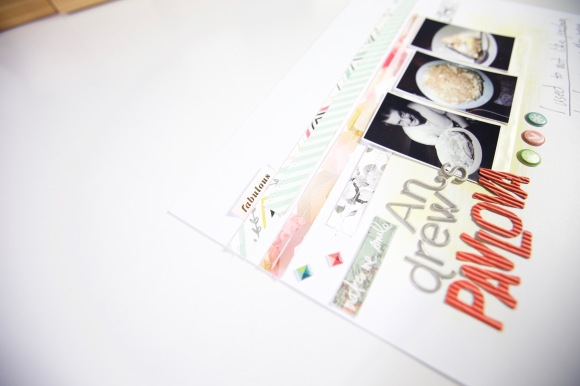
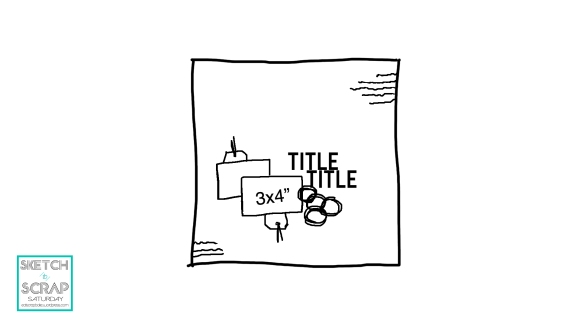
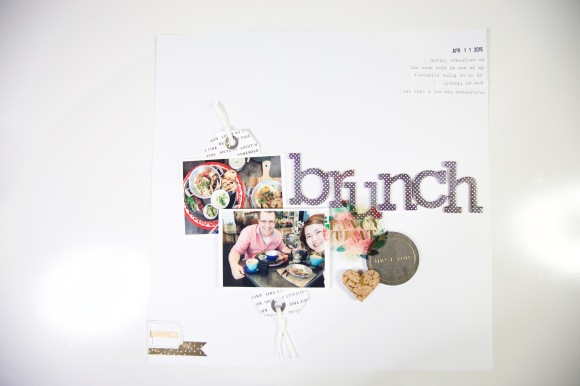
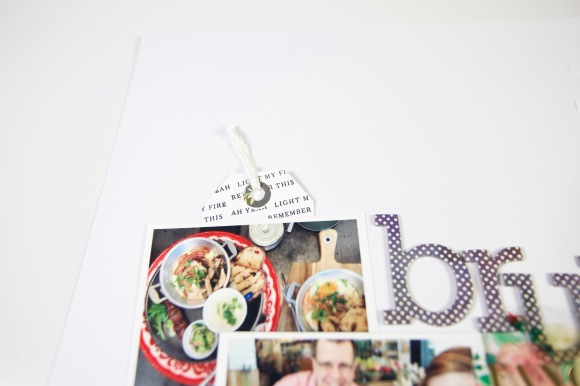
So for the top right pocket, I decided to play around a little and used a bunch of speech bubbles from Ali’s Read story kit.

IMG_6975.jpg

IMG_6976.jpg

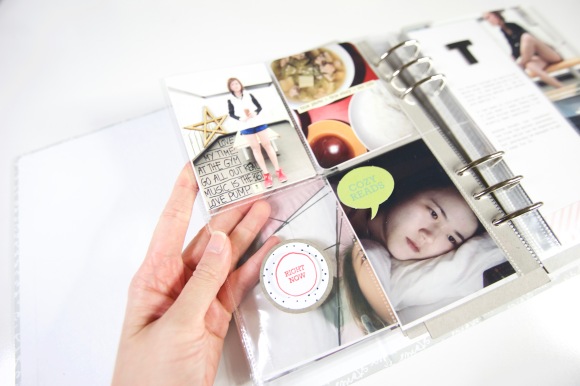
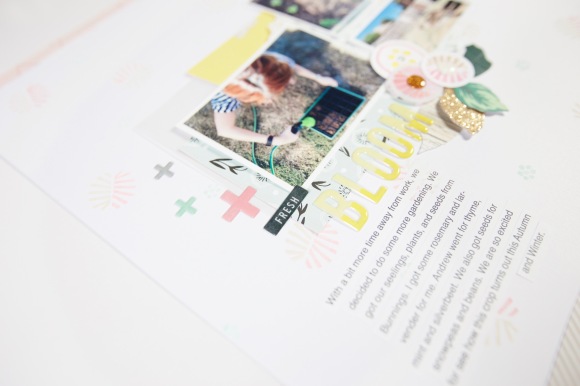
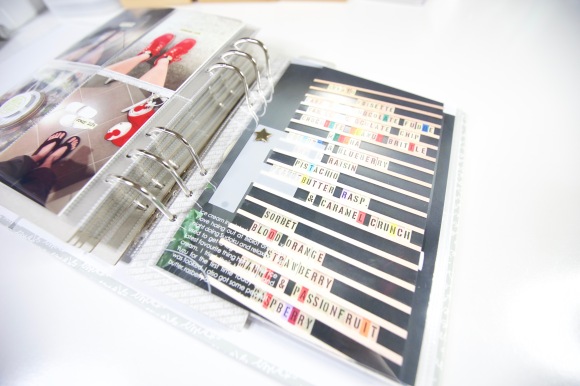
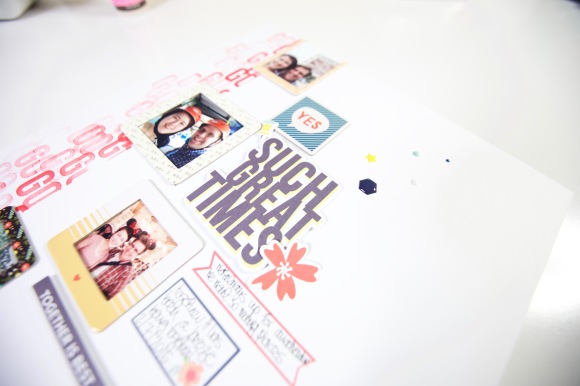
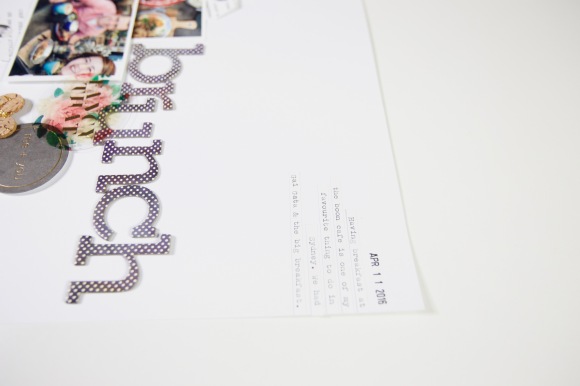
Attaching the translucent letters can be tricky. I used a star brad from Ali’s Magic story kit. I also added some glossy accent underneath the area where it’s covered by the ‘LOVE’ plastic piece.IMG_6978.jpg

IMG_6979.jpgIMG_6980.jpgIMG_6981.jpg
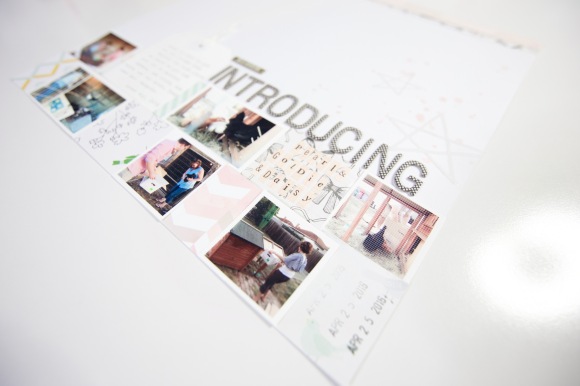
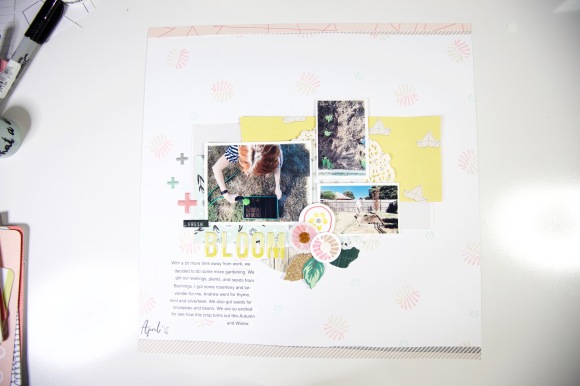
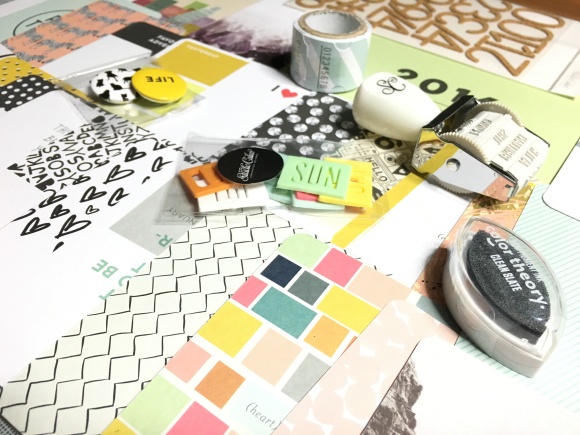
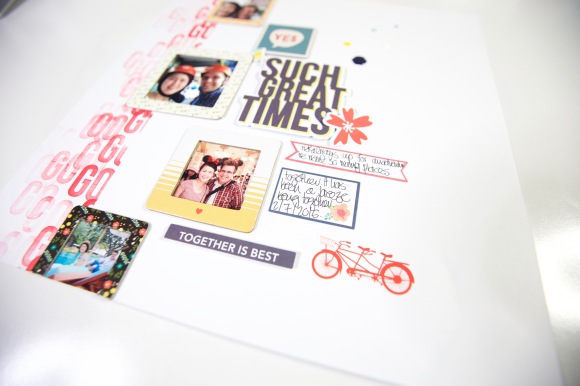
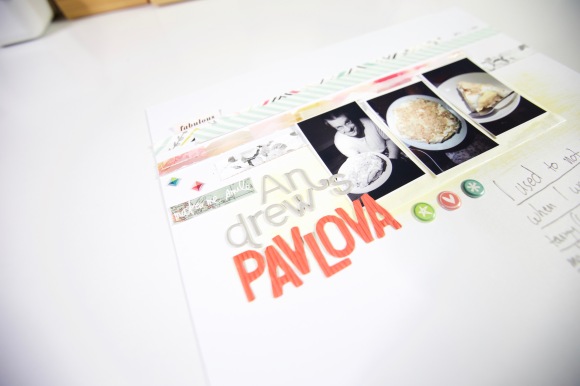
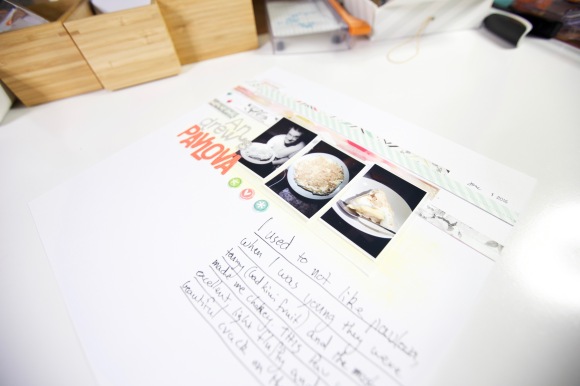
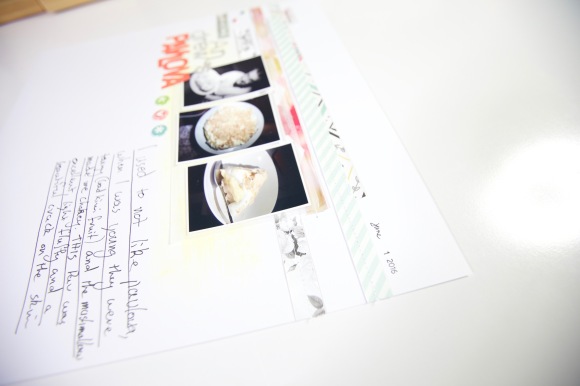
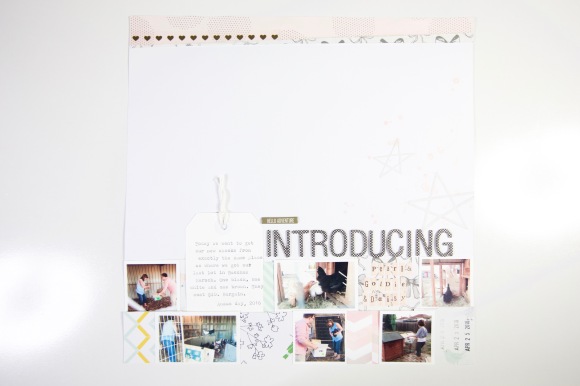
For these 3’x4′ pockets, I decided to add photos of my shoes and a few word phrase stickers. Keeping it simple! IMG_6983.jpgIMG_6984.jpg
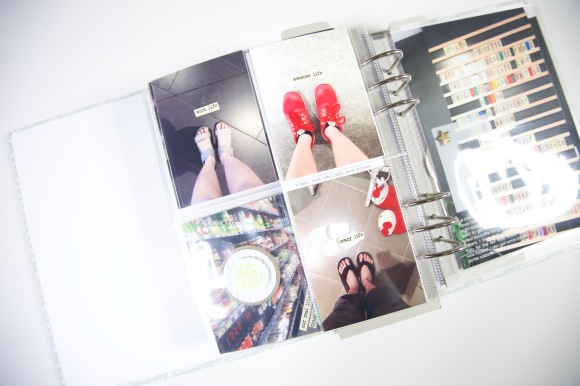
Here is the process video. See you tomorrow for the last two days 🙂

Sketch to scrap: Go such great times

IMG_6907.jpg

Hello!

Today’s sketch is slightly different. It’s built around chipboard frames. I have a lot of them and looking for a way to use some of them up. The sketch contains 4 mini photos; the size of which depends on your chipboard frames. If your frames are large, I would recommend fewer photos and vice versa. The dimensions of mine were 3″x3″, 2″x2″, 1.5″x1.5″ and 1″x1″. So here is the sketch.

Sketch to Scrap banner Go Such Great Times.jpg

As a feature on the left side of the sketch I decided to do some stamping and essentially created my own pattern paper.The stamp I’ve used is from Ali Edwards’ Go story stamp. I don’t think they are available anymore. But any large stamp would work well there. If you don’t want to stamp directly onto the background cardstock by all means use your favourite pattern paper to replace where I did my stamping.

With this sketch I decided to scrap about my travel adventure. I wanted to celebrate our good times and how well we travel together. That’s why it has a holiday theme to it. Here are some closeups and the process video. I hope you enjoy.

IMG_6908.jpgIMG_6909.jpgIMG_6910.jpgIMG_6911.jpg

Andrew’s pavlova

IMG_6884.jpg

Hi ya again,

Today’s sketch has 3 mini photos. They are all 2″x3″. I printed them on a 4″x6″ photo paper. Another feature of this sketch is its use of strips of pattern paper ie. a way to use up those branding strips we all have left in our stash. So here is the sketch.Sketch to Scrap banner Andrews Pavlova.jpg

I’ve decided to scrap about Andrew’s (my lovely significant other) reunited passion with pavlova. For my international readers, pav is like a gooey meringue dessert. We tend to top it up with cream and fruit. It’s really popular in Australia; like apple pie to Americans. Andrew used to dislike pav when he was young. We found this recipe on TV and decided to try it out. Oh boy, it was awesome. So I just wanted to capture the picture of this dessert and also Andrew’s moment of happiness. I also invited him to do some journaling on this page. I think it’s really cool to see his perspective on the story. So here are some closeups and the process video for this layout. I hope you enjoy and let me know if you have any questions.

IMG_6883.jpgIMG_6885.jpgIMG_6886.jpgIMG_6887.jpg


Sketch to scrap: brunch

IMG_6788.jpg

Hi guys,

Thanks for joining me again today. Today’s sketch has two 3″x4″ photos. The photos fit perfectly on one 4″x6″ photo paper sheet. Instead of putting my journalling underneath the title, I decided to do something different and putting the journalling on the top right corner. I quite like the three clusters on the page: bottom left, centre and the top right. So here is the sketch.Sketch to Scrap Brunch.jpg

For this sketch, I decided to scrap about my favourite brunch. I’ve been meaning to scrap these photos for a couple of months now but haven’t had a chance. Another feature of this sketch is the use of two tags. Since I didn’t have enough white tags in my stash, I decided to create them myself and they are super easy and fun. Plus, it also a cool way to be frugal. Happy day! To decorate the tags, I used stamps from Ali Edwards’ Spark story stamp set. I stamped them repeatedly to create a pattern on the tags. So here are some close ups and the process video. I hope you like it and let me know if you have any questions.

IMG_6785.jpgIMG_6786.jpgIMG_6787.jpgIMG_6788.jpgIMG_6789.jpg

Sketch to Scrap: Introducing

IMG_6815.jpgHello,

Today’s sketch is a little different. It features several mini photos of multiple sizes and they are all located at the bottom of the page. In total it has 2 of 2×3″ photos and 4 of 2×2″ photos. If you want, the sketch would also work with a couple more or less photos. The sketch is great for when you have many photos you want to scrap and want to fit them all in page. Because the photos are quite small, it would be good for when your photos are not of high quality. So here is the sketch.

Sketch to Scrap banner Introducing.jpg

I decided to scrap about our new pets. Recently we went to get our chooks from a farm. We took so many photos and I wanted to include them all. I used patterned paper from the February Hip Kit. Here are some close ups.

IMG_6816.jpgIMG_6817.jpgIMG_6818.jpgIMG_6819.jpg

Here is the process video to go with it. Let me know if you have any questions. Hope you enjoy!

Sketch to scrap: Bloom

IMG_6681.jpg

Hello again,

I’m back with another sketch to scrap video. For today’s sketch I decided to go with three photos: one 3×4′ and two 2×3′. So together I can print them in one go as a 4×6′ photo. Here is the sketch. Sketch to Scrap banner5.jpg

For this sketch I wanted to scrap about my gardening. Autumn recently started in Australia and we decided to plant some peas and other cold climate vegetables. White background is normally my go to but today I decided to try something new. I was keen on making my own background using the stamp set that came in the Studio Calico scrapbook kit from March. I had a real flowery bloomy vibe to it. I don’t normally create my own background using stamp. I hope you like it. Here are some closeups.

IMG_6679.jpgIMG_6680.jpgIMG_6682.jpgIMG_6683.jpg

Here is the process video for this layout. Thanks for dropping by and let me know if you have any questions.

Unboxing Studio Calico Jan 2016 kit

IMG_3557

Documenter kit, Jan 2016

Hello hello,

Today I’m very excited to be sharing with you my first video. Please be warned that it is my first so I do sound super nervous on the video. For this unboxing video, I will be showing you the January kit for 2016. I’m a subscriber to both the scrapbook kit as well as the documenter kit. To be honest I’m not sure how much longer I will be subscribing for their scrapbook kit. I’ve been eyeing off scrapbook kit from the Hip Kit Club. I think I will keep my SC subscription to the documenter kit though.

IMG_3555

Scrapbook kit, Jan 2016

Any who, please enjoy the video. If you have and questions or comments, please feel free to leave them below. I would love to hear from you. I’m planning to record scrapbook and project life process videos in the near future so stay tuned.


Tagged , , , ,