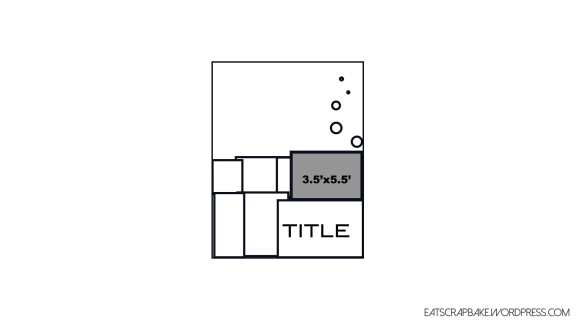
I’m back with another sketch. Today’s sketch is slightly different than the usual. I tend to make a 12’x12′ page. But today’s sketch will be 8.5’x11′. For non-US folks, an A4 size page would be absolutely fine. The sketch contains one photo. The photo is about 3.5’x5.5′. I essentially printed a 4×6 but felt that it was a little too big so I trimmed it a bit. Here is the sketch.
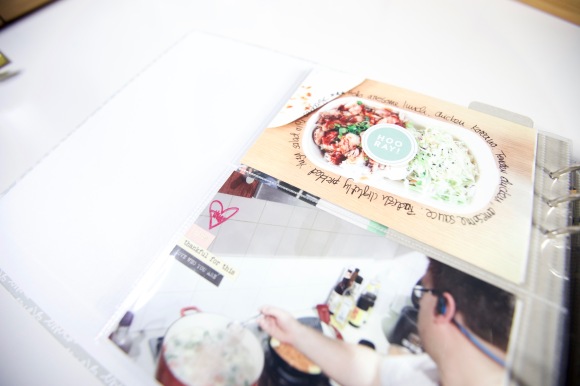
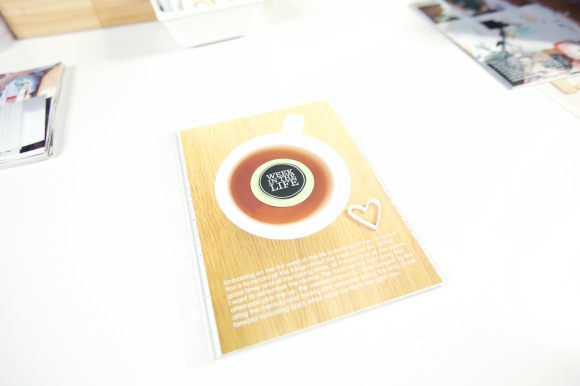
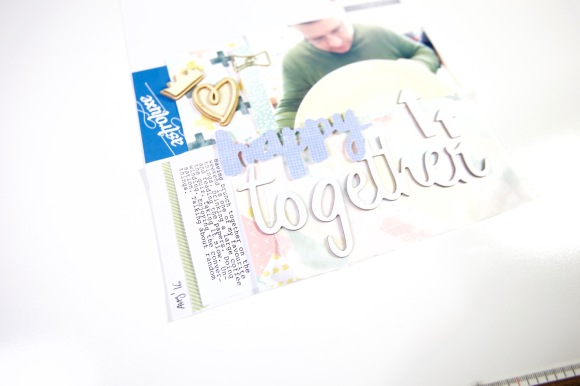
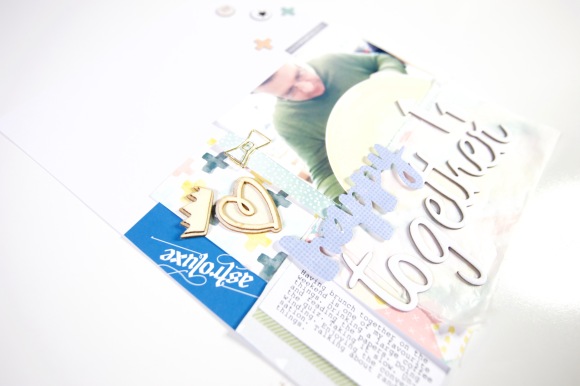
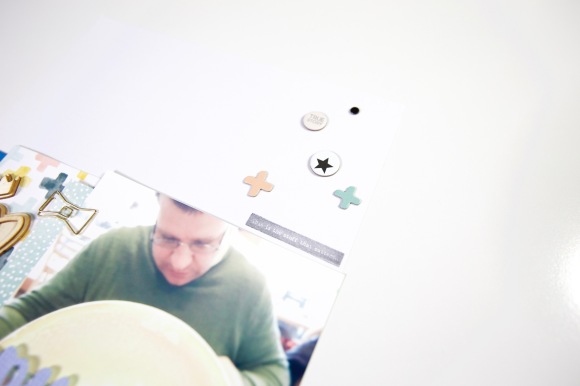
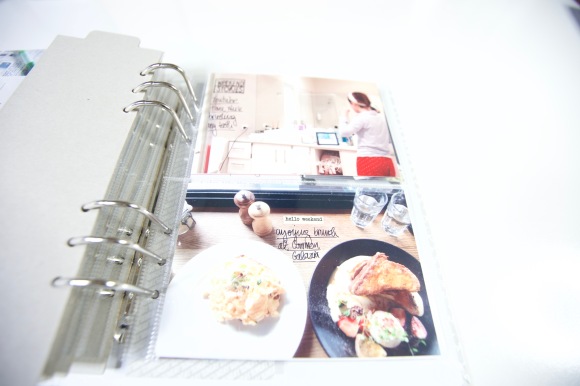
I decided to scrap about a photo I took last week when we were having brunch on the weekend. We go out for brunch almost every weekend and I just love unwinding over a slow cup of coffee in the morning. While I was having a coffee, I felt like the view from my perspective was so comforting and worth recording. So I took out my phone and snapped a photo. I used products from the hip kit club’s scrapbook kits from August and July 2016. Here are some closeups and the process video. Have a great week!
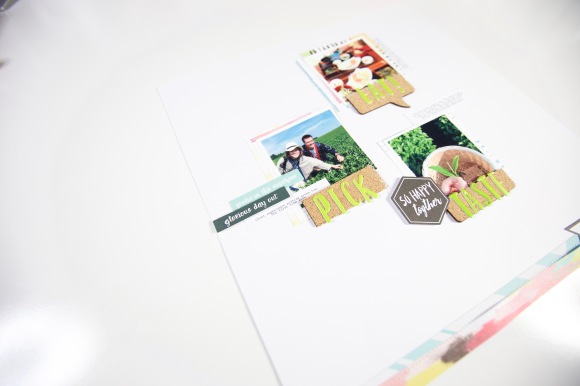
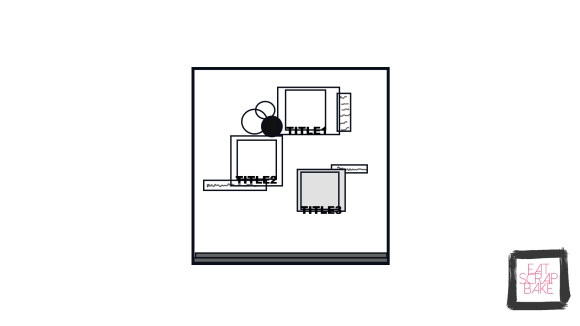
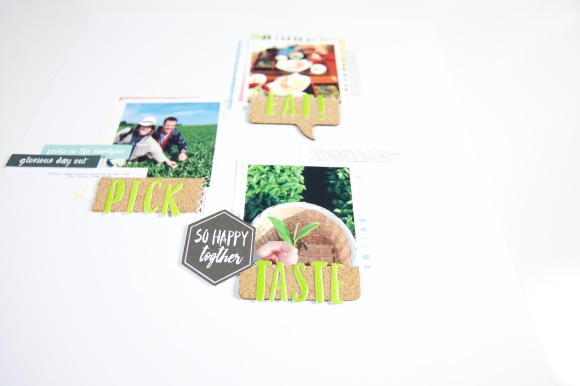
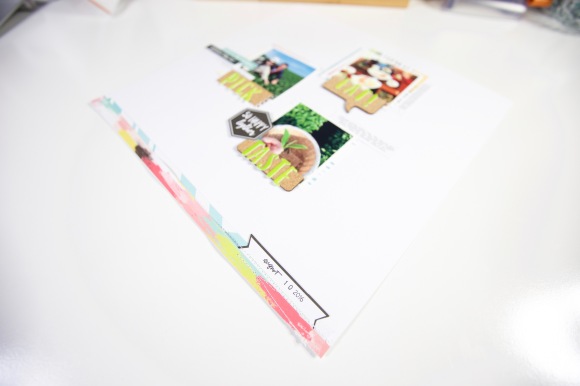
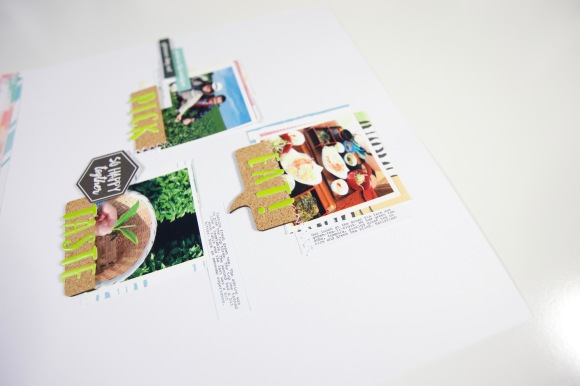
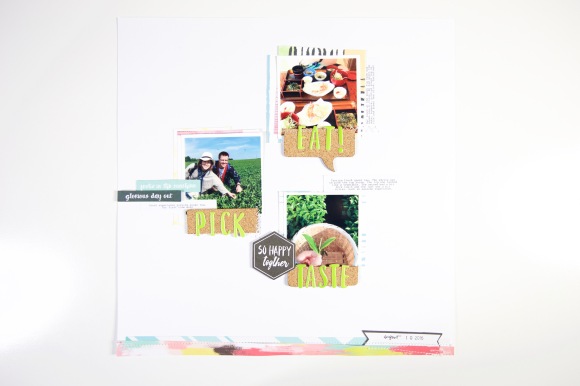
I’m super excited to bring you another sketch. Today’s sketch has three photos. Two of them are 3’x3′ and the other one is ~2.5’x2.5′. There are essentially 3 mini clusters on one page. So here it is:
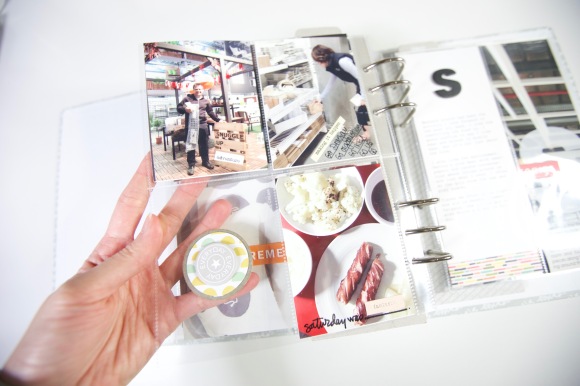
I decided to scrap about our trip to a green tea farm when we were in Japan. It was super fun. We got to have a green-tea-licious lunch at the farm. There were green tea soba, green tea rice, green tea salad and green tea pudding. We also got to pick the tea as well as tasting the tea. We had a blast at the farm. So I decided to title this page as Eat+pick+taste. Here are some closeups and the process video. I have to apologise for not having the recording for part of the process. Thanks for visiting and have a wonderful day.
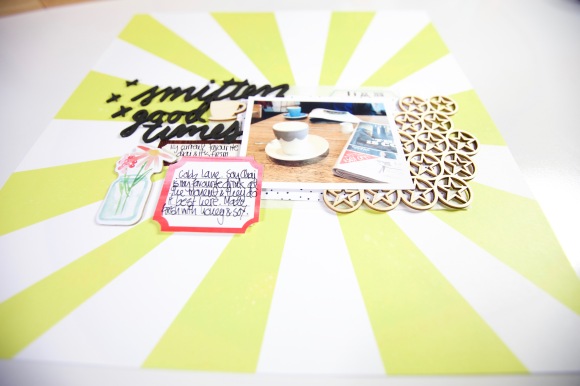
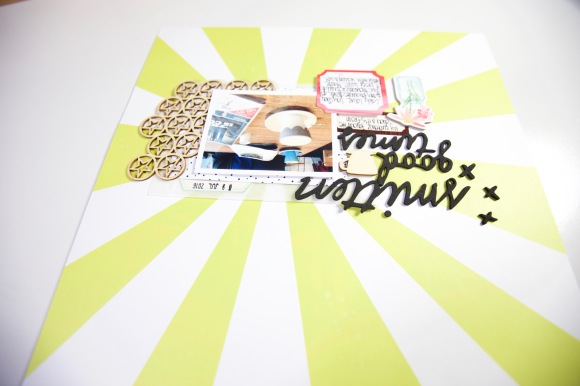
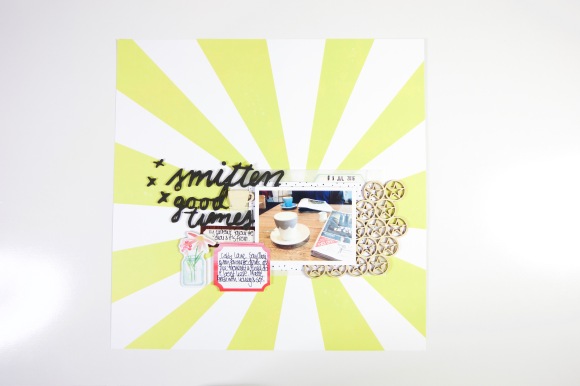
Today’s sketch is motivated by my desire to use an awesome patterned paper. I got this paper from the Hip Kit Club’s scrapbook kit and it looks like a burst of sun rays. So I thought why not build a sketch around it. The sketch has one photo. I went with a 3″x4″ but any smallish photo will do just fine. Here is the sketch.
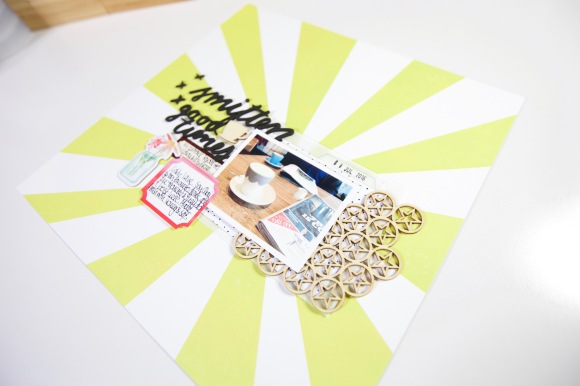
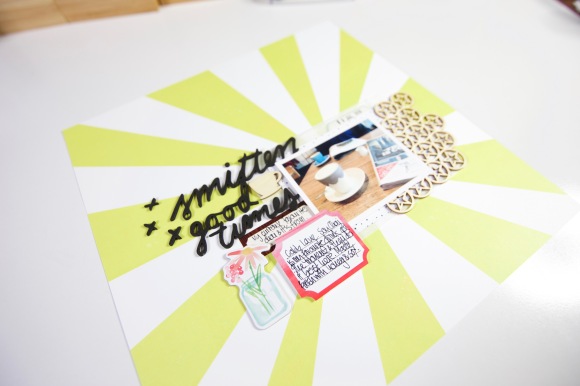
I decided to scrap about my favourite place to get Chai tea. I’m one of those people who love getting a nice sweet drink in the afternoon on the weekend. We found this place a few weeks ago when I was sick and it has been my favourite place ever since. They make the best soy chai tea. It’s made with real tea leaves. With a bit of honey, it’s a perfect way to end your afternoon. I feel like I’m being wrapped in a blanket drinking it. Perfect for winter in Melbourne. I’ve used embellishments from both Studio Calico and HKC. The thickers are from Amy Tangerine. Here are the closeups and process video. Enjoy!
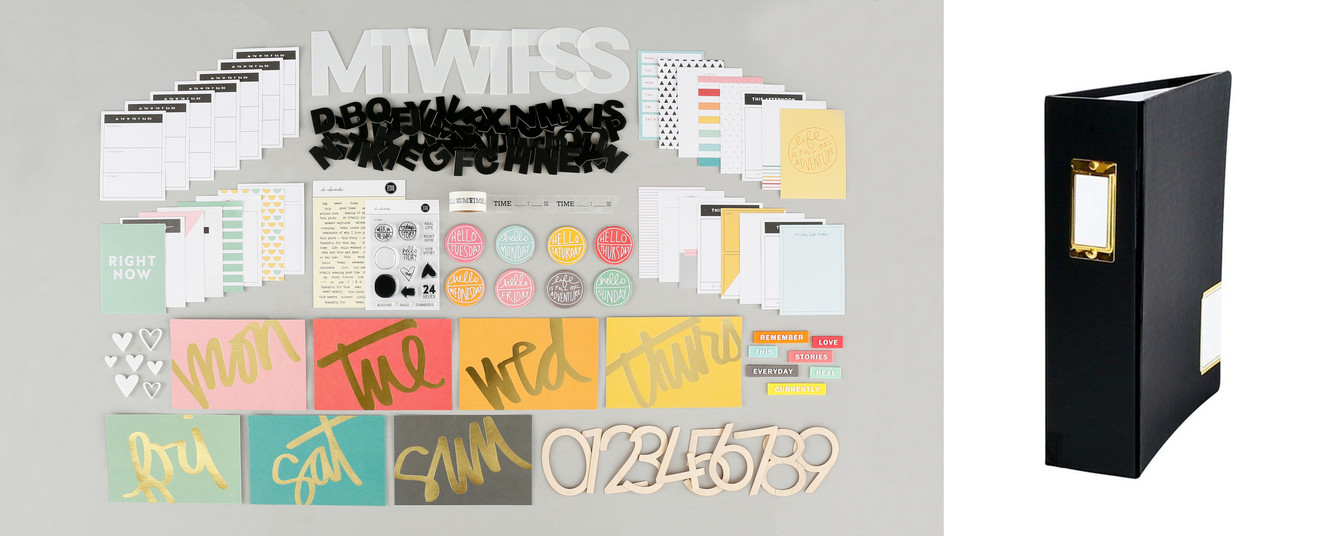
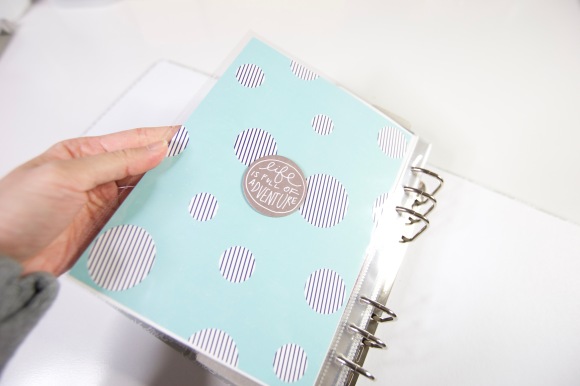
Thanks for joining me again. Today, I have the last video in this WITL series for you. I’ve managed to complete my first ever WITL album and I’m super happy.
Here are my reflections. I think it’s a worthwhile project. My number one tip is to keep it simple and follow a recipe. If you are time poor like me, go for a format that you can follow. I printed all my photos beforehand. I used limited supplies; mainly from the WITL kit. So here is the video. Thank you so much for joining me on this journey.
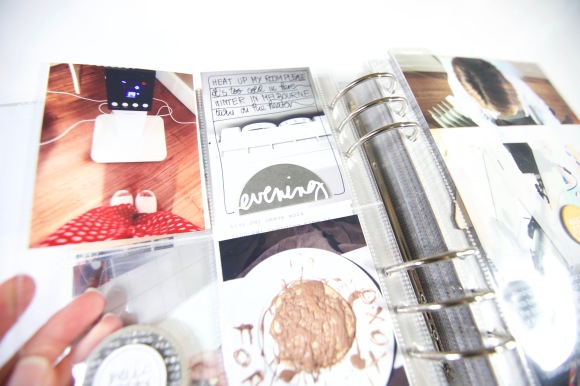
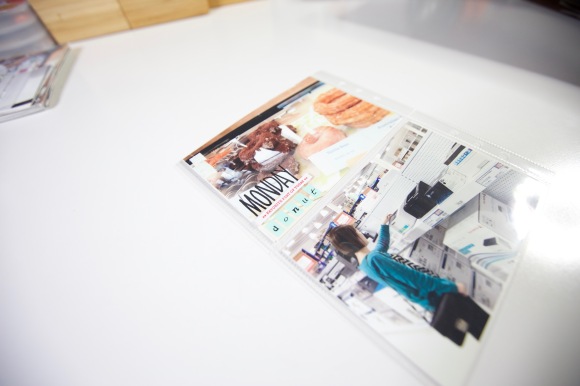
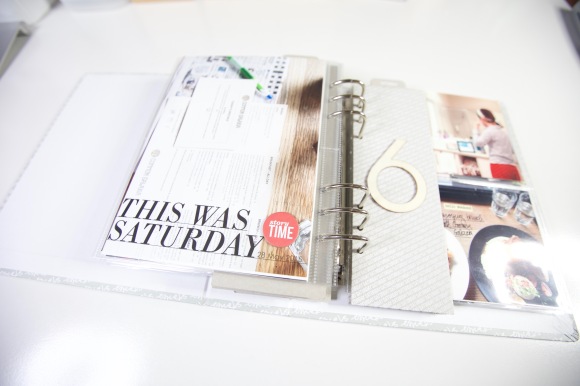
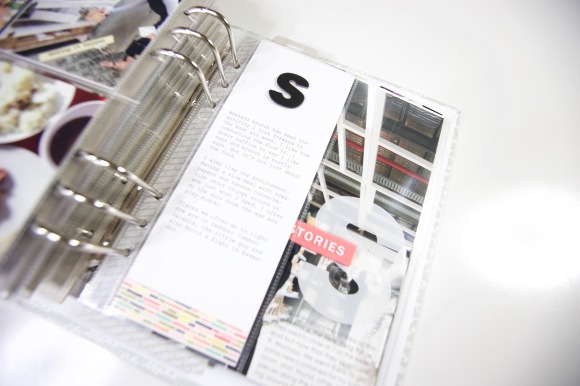
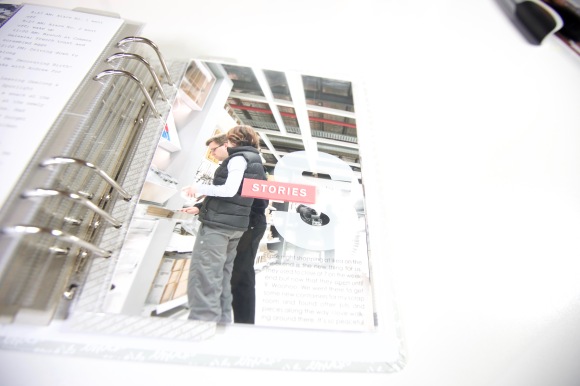
I’ve the last two days for you today. I’m so excited to be finishing this project. I started Saturday with a 6’x8′ photo. I added a chipboard circle from the Read story kit, following by a chipboard divider.
I punched a circle from a 3’x4′ journaling card that came in the WITL kit and used some foam dots to adhere it onto the photo.
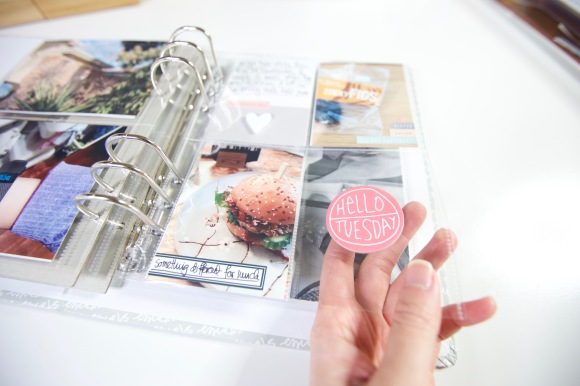
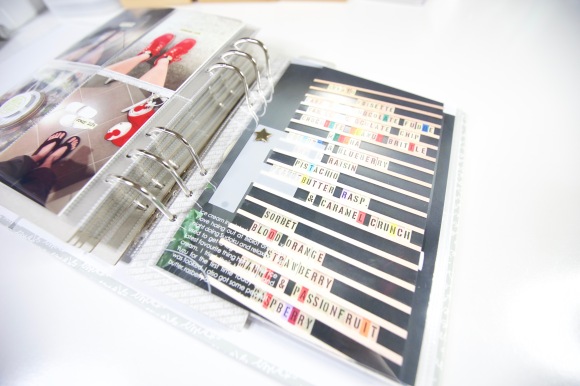
I used the ‘Today’ stamp set I got from Ali’s store to stamp directly onto the photo of the menu with StazOn black ink.
I added the translucent ‘S’ using 2 silver brads from Stampin up!
Here is the process video. Hope you can join me again tomorrow for the final video. I’ll be walking you through my entire album, what I did for the label and how I hold the album together. Join me tomorrow.
Welcome back! Today I’m here to show you two more days of my WITL project. I really like following a pattern to completing this project. It gets quicker and quicker every day. And for a project like this, I think it’s really important to make sure that I keep it manageable.
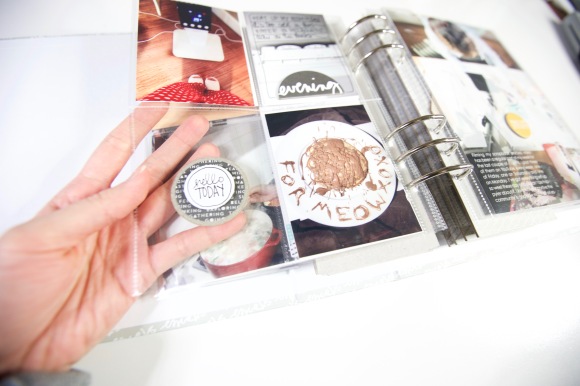
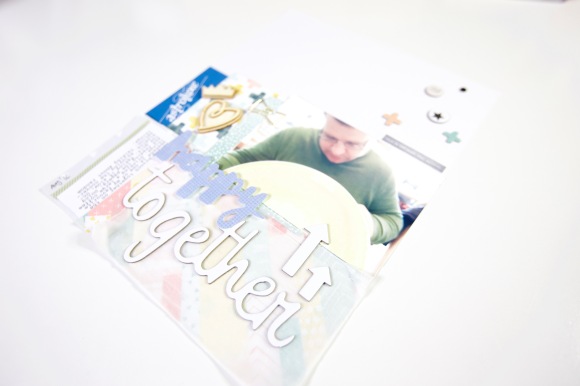
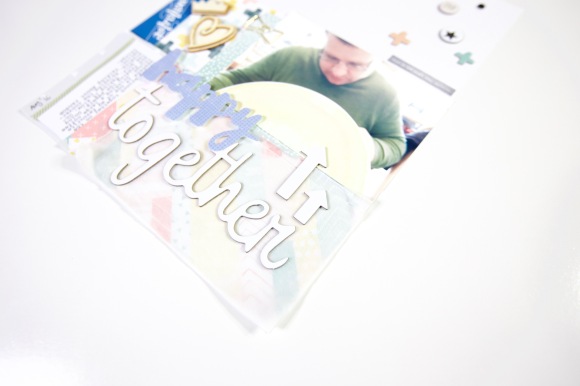
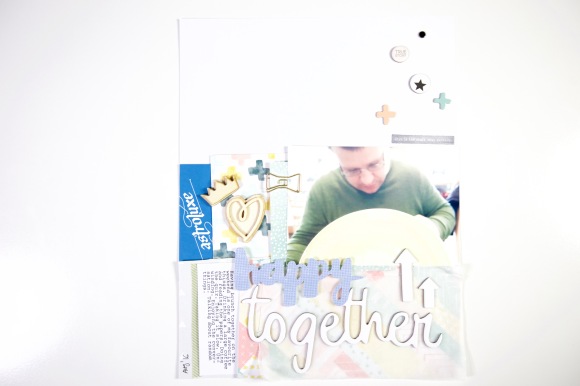
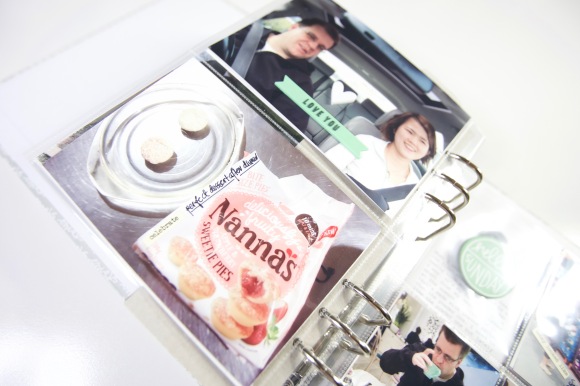
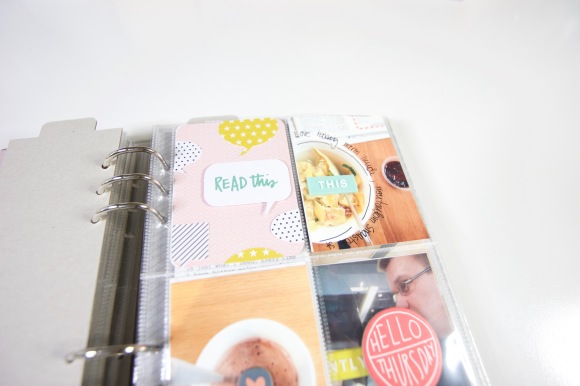
So for the top right pocket, I decided to play around a little and used a bunch of speech bubbles from Ali’s Read story kit.
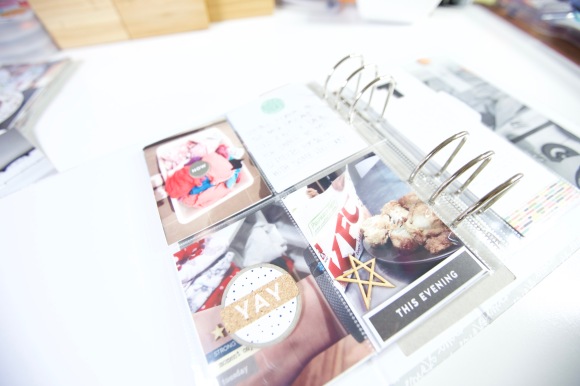
Attaching the translucent letters can be tricky. I used a star brad from Ali’s Magic story kit. I also added some glossy accent underneath the area where it’s covered by the ‘LOVE’ plastic piece.
For these 3’x4′ pockets, I decided to add photos of my shoes and a few word phrase stickers. Keeping it simple! Here is the process video. See you tomorrow for the last two days 🙂
Once again, I followed a similar structure as the first two days. I’m really happy about this structure actually and thinking it might be a good structure for my travel album as well. But more on that after my holiday.
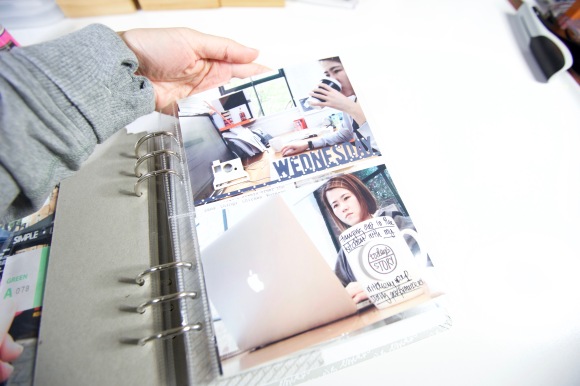
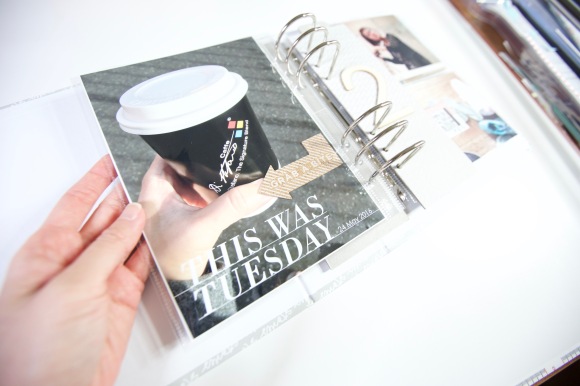
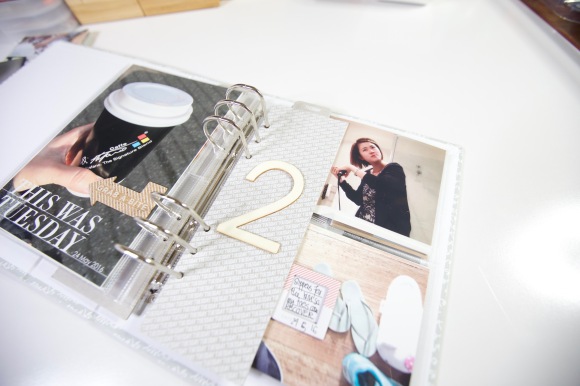
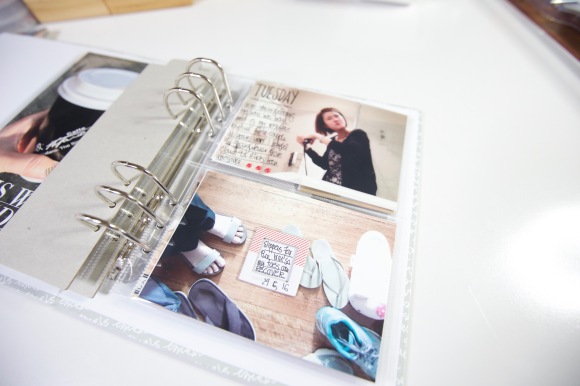
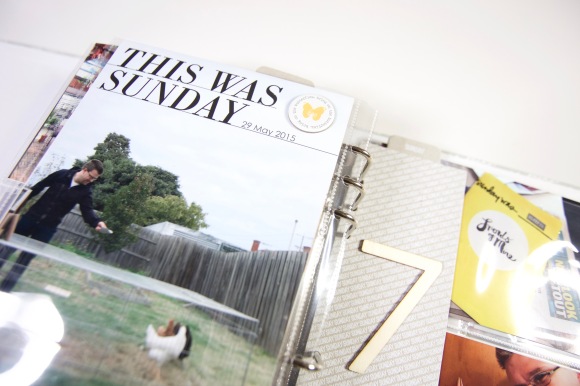
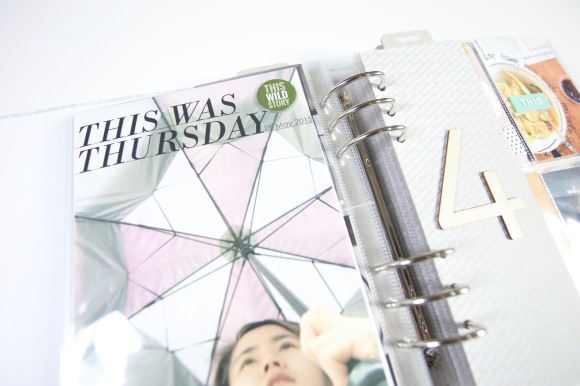
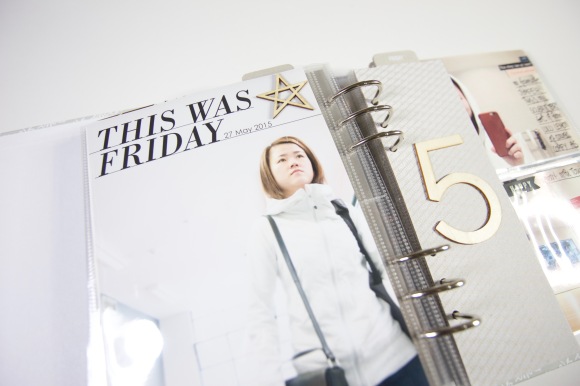
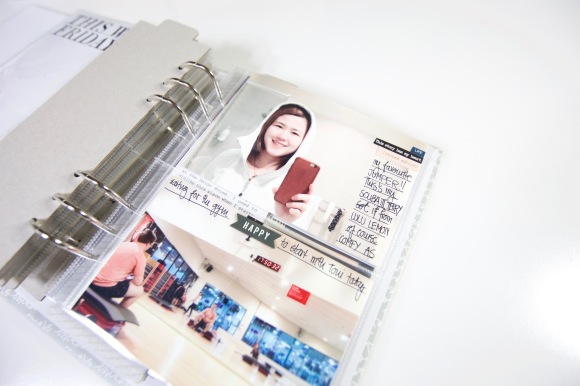
To embellish the top 4’x6′ photo, I decided to use the ‘day of the week’ die I got from Ali Edwards’ store. I used the die with a big shot (die cutting machine) and pattern paper from the Hip Kit Club’s scrapbook kit. For the bottom photo, I decided to do some stamping and also write directly onto the photo using my sharpie pen and the stamp set that came in the WITL kit. I was actually trying to stamp directly onto the photo but smudged it so I fixed that up by stamping onto a pattern paper and stick that on top. Looking at it now, I think I prefer this version actually.
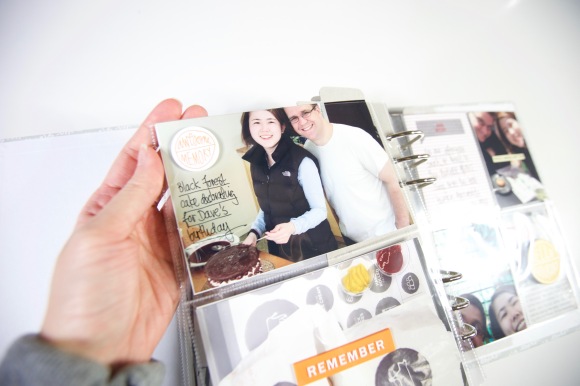
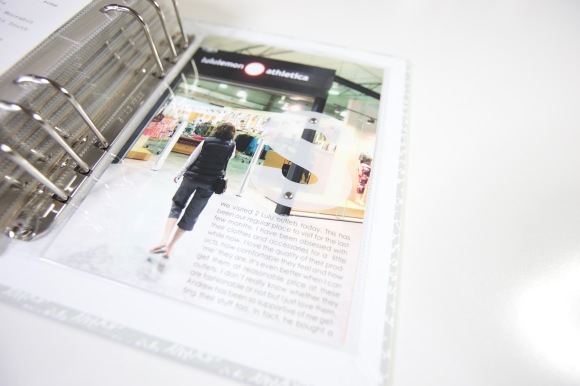
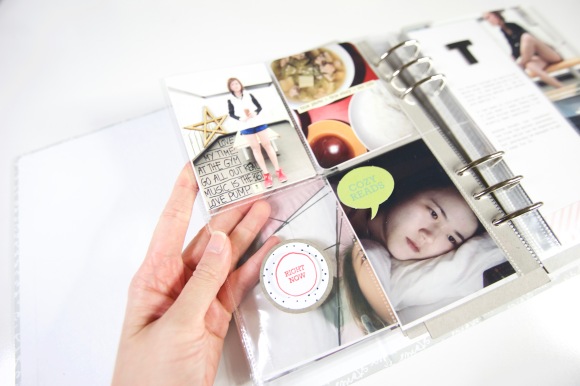
For the top photo, I decided to add punch out circle from a 3’x4′ journaling card from the WITL kit then wrote my journaling around it.
I used a semi-circle chipboard from Ali Edwards’ AM/PM story kit to ground the photo in the top right pocket.
Here is the process video. Hope to see you again tomorrow!
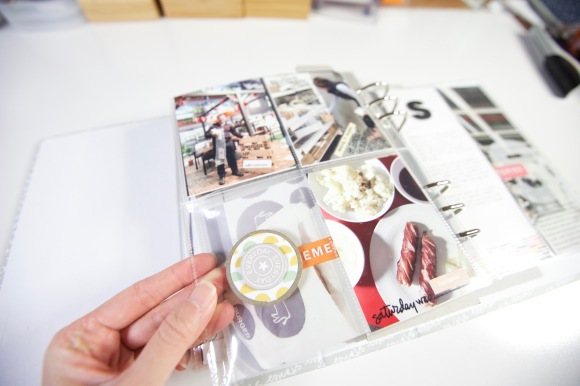
I’m back with the Tuesday spread. I followed the same pattern as Monday and started the day with a 6’x8′ photo and ended with another. In between I used a two-pocket page protector and a four-pocket page protect to add extra photos. I added extra journaling using a 3’x8′ page protector. Here are some close ups.
I used the chipboard circle from the kit in the bottom right pocket. I like how you can see through to the other side. On the back, I punched out a 1.5″ circle and attached it using glossy accent. I also added a cork sticker from the Hip Kit Club’s March 2016 scrapbook kit.
Here is the process video. I hope you like it. I’ll be back again tomorrow.
Today I’m here to show you my first day of my Week In The Life album. I went on this journey in May. I took a bunch of photos during the week and decided to take a bit of a break before assembling my album.
In terms of products, I mainly used the WITL kit from Ali Edwards. I also supplemented that with a few stamp sets from her website as well. I will put the links to these products below.
For the first page, I decided to add a discussion about why I was doing this project. I essentially talked about the fact that it’s my first time and I was super excited. I wanted to remember the routine, the food, the afternoon pick-me-up, the gym and all the little things.
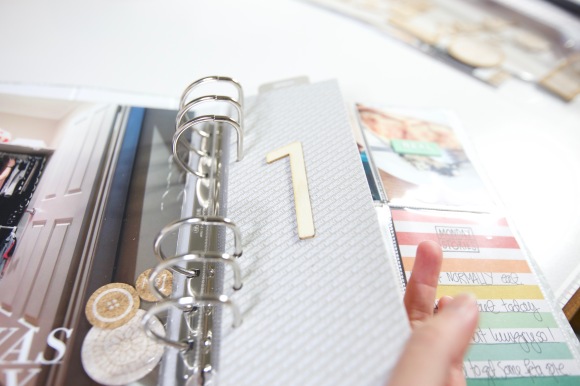
I started Monday with a 6’x8′ photo. I also added a digital element from Ali Edwards onto the photo with three cork stickers from the Hip Kit Club’s scrapbook kit (March 2016). Following by a chipboard divider that has Monday written all over it. I attached a wooden no.1 on it as well.
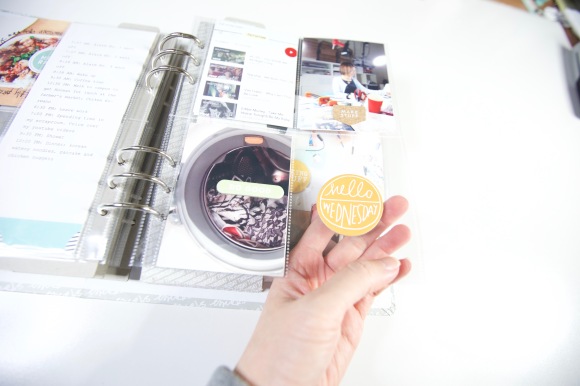
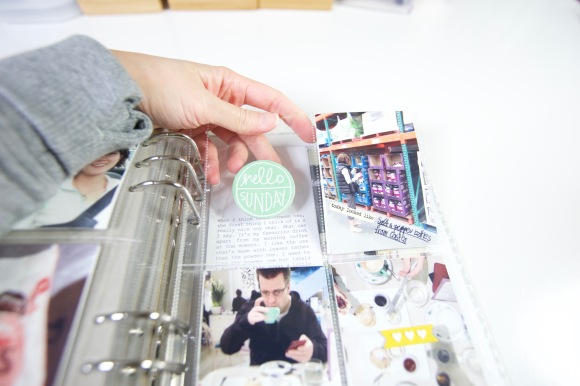
I then added a 4-pocket page protector filled with 3’x4′ photos and journaling cards from the kit. In one of the pockets, I added a chipboard that says ‘hello Monday’. At the back of it, I added a 1.5″ circle. I punched that out from a pattern paper I got from a Hip Kit.
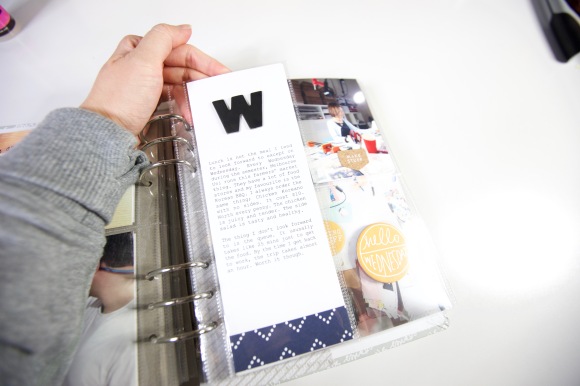
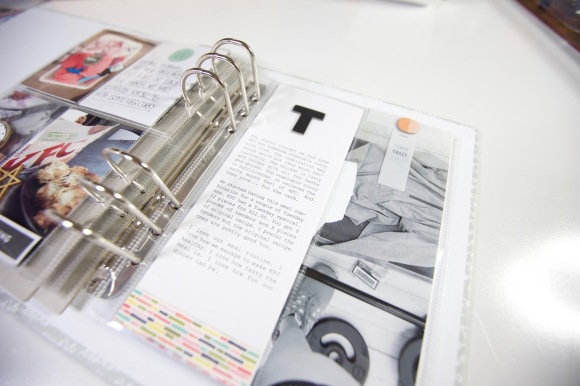
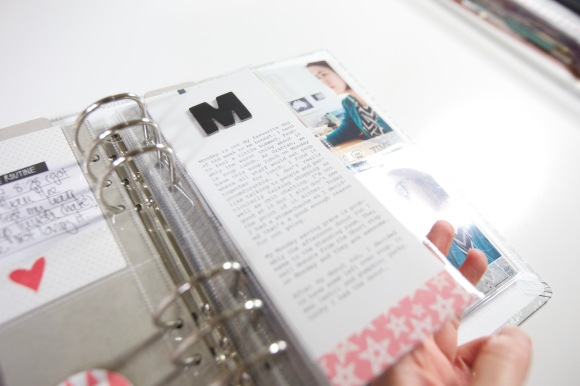
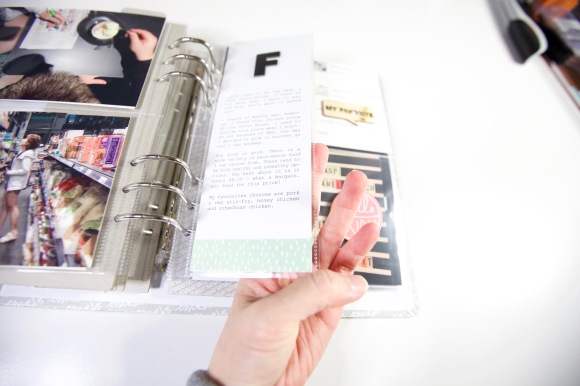
I printed out my journaling using Photoshop and cut it up into 3’x8′ so it fits into a page protector I got from Ali’s store. I attached a strip of pattern paper at the bottom and an ‘M’ chipboard. At the back I added my schedule for the day with a strip of different pattern paper at the bottom.
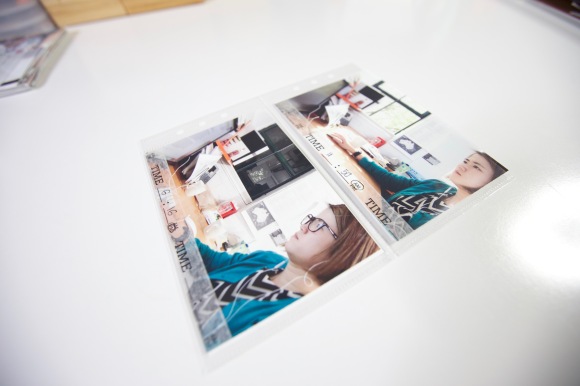
Next I added a 2-pocket page protector with some 4’x6′ photos. I got 2 similar photos of me at my desk: one in the morning and one at night. I used the washi tape from the kit to add the time. For the back, I used the ‘day of the week’ stamp set from Ali Edwards and some alphabet stickers from my little shoebox.
For the last page, I used a 6’x8′ photo and added a slightly translucent ‘M’ using my tiny attacher. Before I printed out the photo, I added some journaling onto the photo using Photoshop.
Here is the process video. Hope you enjoyed! I’ll be back tomorrow for the Tuesday’s spread.
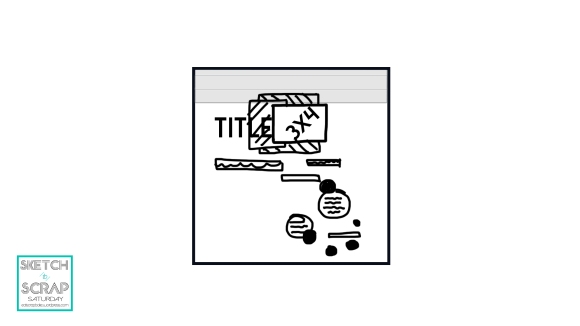
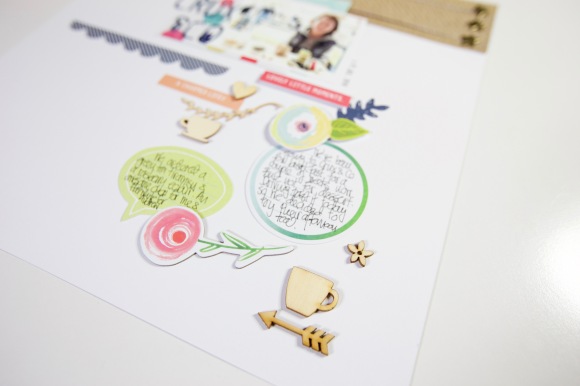
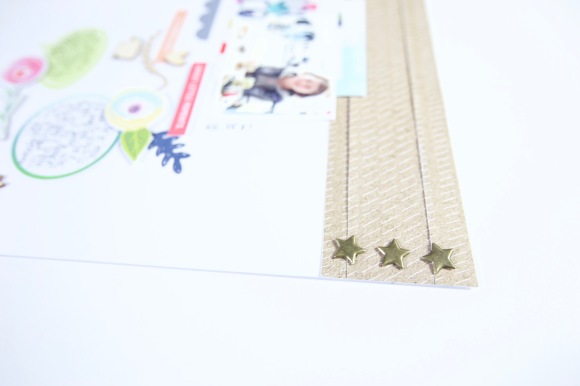
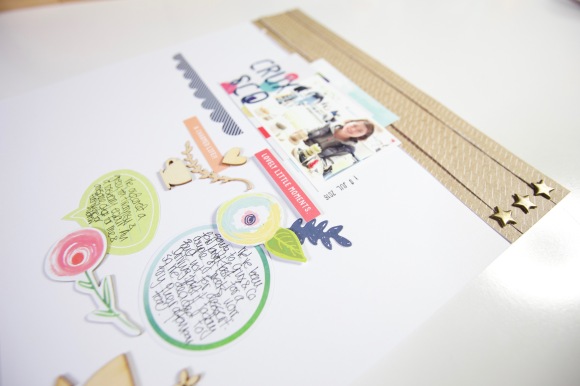
Today’s sketch contains one photo. I decided to go with a 3’x4′ photo but the sketch would work fine with a 4’x6′ photo as well. To me this is a vertical kind of sketch. There is a photo in the top middle and a bunch of embellishments aligned in a line flowing from the photo.
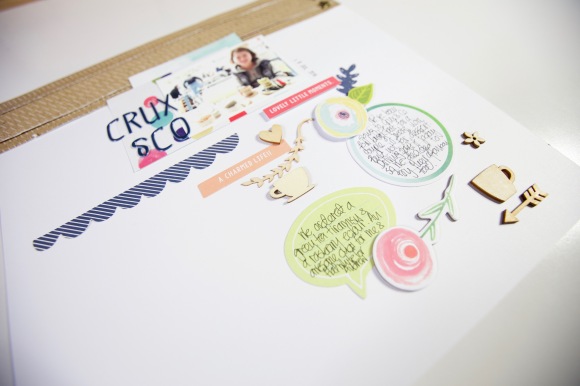
I decided to scrap about my favourite brunch place at the moment. Actually last Sunday we went there for brunch and afternoon tea. We had such a great time.
With the layout I decided to combine products from different companies. I got most of the embellishments and pattern paper from the Hip Kit Club’s scrapbook kit from May 16. The pattern paper at the top was from Studio Calico’s scrapbook kit called Scout. And I’ve also used bits and pieces from Ali Edwards’ believe and tough story kits. Here are some close ups and the process video.
Before I go, I just want to let you guys know that this is going to be my last sketch for the next few weeks. From Monday next week, I will be posting my process video for my Week In The Life album. That will conclude on Friday where I will walk you through my completed album. And then I’m be off on holiday for a couple of weeks. The next sketch will be back on Saturday 20 August. I hope you can join me on this Monday for my first WITL video. I’m super excited.
Lastly, I want to thank you everyone for joining me on this journey. I have been enjoying making these videos and also communicating with you about this awesome world of scrapbooking. Enjoy 🙂


 Hi guys,
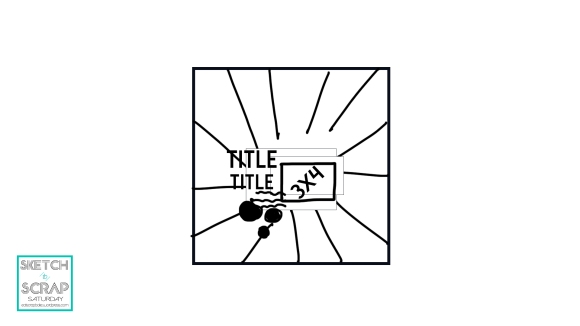

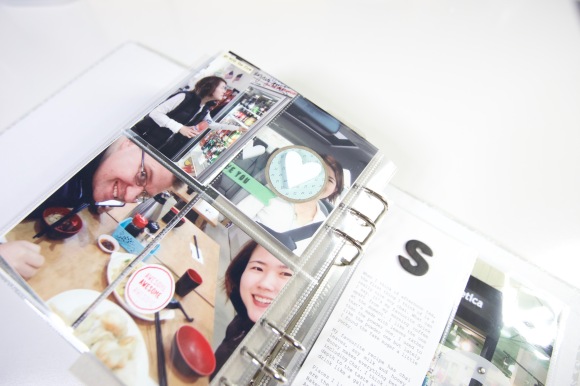


 For these 3’x4′ pockets, I decided to add photos of my shoes and a few word phrase stickers. Keeping it simple!
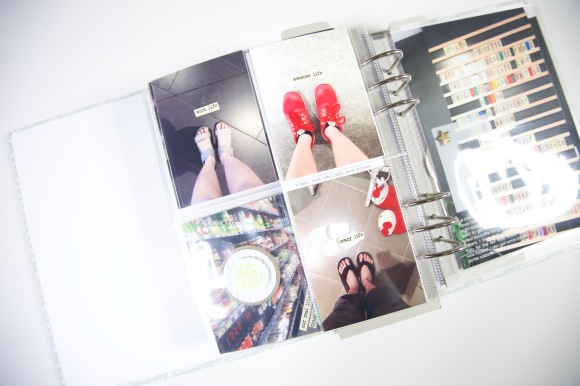
 Here is the process video. See you tomorrow for the last two days 🙂
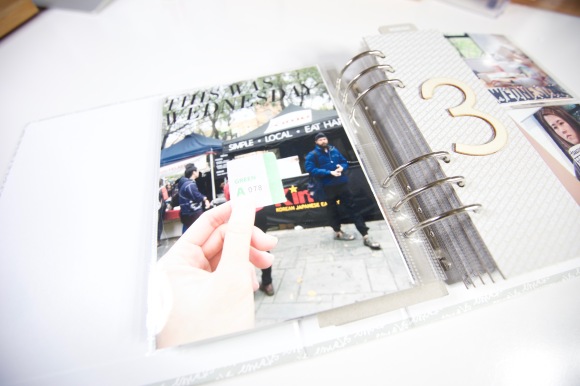 Hello Wednesday,